Advertisement

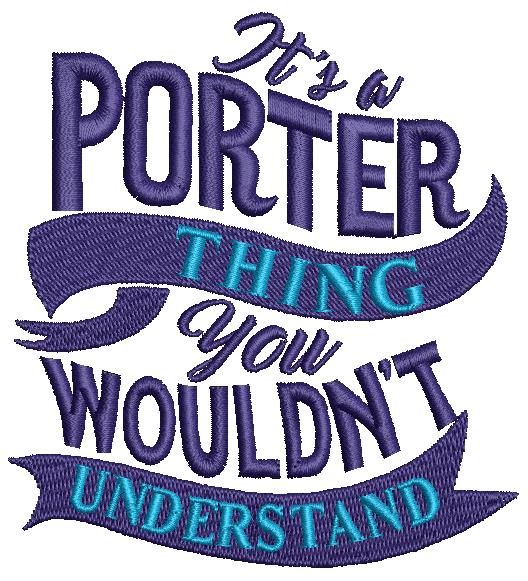
Stitches/points: : 13772
Thread Colors : 2
Width : 4.74(CM)
Height : 3.75(CM)
Machine Type: Normal , Flat , Malty
Design Format: DST, ART, EXP, HUS, JEF, PCS, PES, SEW
Benefits and notes:
Moldura Balão embroidery design is a beautiful and intricate form of embroidery that has gained popularity in recent years. This type of embroidery design is known for its intricate and delicate patterns that are reminiscent of the traditional embroidery designs of Brazil. In this article, we will explore the history of Moldura Balão embroidery design, the materials required for this type of embroidery, and the steps involved in creating a Moldura Balão embroidery design.
History of Moldura Balão embroidery design
Moldura Balão embroidery design originated in the northeastern region of Brazil, where it was popular among the local communities. The embroidery designs were created using a combination of stitches such as satin stitch, stem stitch, and French knot. These designs were usually made on linen or cotton fabrics, which were readily available in the region.
Over the years, Moldura Balão embroidery design has evolved, and new patterns have been developed. The designs now incorporate a variety of colors and threads, which have made the embroidery even more intricate and beautiful.
Materials required for Moldura Balão embroidery design
To create a Moldura Balão embroidery design, you will need the following materials:
Embroidery hoop – This is used to hold the fabric in place while you are stitching.
Fabric – You can use any type of fabric, but cotton or linen fabrics are the most commonly used for this type of embroidery.
Embroidery floss – This is the thread used for stitching. You will need a variety of colors to create the design.
Needles – You will need different sizes of needles, depending on the thickness of the thread you are using.
Scissors – These are used to cut the thread and fabric.
Steps involved in creating a Moldura Balão embroidery design
Creating a Moldura Balão embroidery design is a process that requires patience and attention to detail. The following are the steps involved in creating a Moldura Balão embroidery design:
Choose your design – The first step is to choose a Moldura Balão embroidery design that you would like to create. You can find inspiration online or create your own design.
Transfer the design – Once you have chosen your design, you will need to transfer it onto the fabric. You can do this by tracing the design onto the fabric using a transfer pen or by using a lightbox to trace the design.
Stretch the fabric – After transferring the design, you will need to stretch the fabric onto the embroidery hoop. This will help to keep the fabric taut while you are stitching.
Start stitching – Now it is time to start stitching. You can start with any part of the design, but it is usually best to start with the outline. Use the satin stitch to fill in the design, and use the stem stitch or French knot for details.
Finish the design – Once you have completed the stitching, you can remove the fabric from the embroidery hoop and trim the edges. Your Moldura Balão embroidery design is now complete!
Conclusion
Moldura Balão embroidery design is a beautiful and intricate form of embroidery that has a rich history in Brazil. This type of embroidery design requires patience and attention to detail, but the end result is worth the effort. If you are interested in learning how to create a Moldura Balão embroidery design, all you need is the right materials and some practice. With time and practice, you can create your own stunning embroidery designs.

.JPG)
.JPG)
.JPG)
.JPG)